
服務器維護CentOS 7 安裝Redis
2020-06-07 13:37 作者:admin
如何做好服務器維護?北京艾銻無限科技與你談談IT人員必須知道的服務器維護信息
服務器維護小知識系統環境和版本說明
Linux依然使用的是CentOS 7,安裝的redis是官網的最新的版本4.0.2
服務器維護小知識安裝步驟
下載安裝包:
https://redis.io/download
創建文件目錄:
# mkdir /usr/local/redis
解壓文件
# tar xvfz redis-4.0.2.tar.gz
進入解壓文件
# cd /usr/local/redis/redis-4.0.2/
# ls
總用量 280
-rw-rw-r--. 1 root root 131381 9月 21 22:12 00-RELEASENOTES
-rw-rw-r--. 1 root root 53 9月 21 22:12 BUGS
-rw-rw-r--. 1 root root 1815 9月 21 22:12 CONTRIBUTING
-rw-rw-r--. 1 root root 1487 9月 21 22:12 COPYING
drwxrwxr-x. 6 root root 4096 9月 21 22:12 deps
-rw-rw-r--. 1 root root 11 9月 21 22:12 INSTALL
-rw-rw-r--. 1 root root 151 9月 21 22:12 Makefile
-rw-rw-r--. 1 root root 4223 9月 21 22:12 MANIFESTO
-rw-rw-r--. 1 root root 20530 9月 21 22:12 README.md
-rw-rw-r--. 1 root root 57764 9月 21 22:12 redis.conf
-rwxrwxr-x. 1 root root 271 9月 21 22:12 runtest
-rwxrwxr-x. 1 root root 280 9月 21 22:12 runtest-cluster
-rwxrwxr-x. 1 root root 281 9月 21 22:12 runtest-sentinel
-rw-rw-r--. 1 root root 7606 9月 21 22:12 sentinel.conf
drwxrwxr-x. 3 root root 4096 9月 21 22:12 src
drwxrwxr-x. 10 root root 4096 9月 21 22:12 tests
drwxrwxr-x. 8 root root 4096 9月 21 22:12 utils
配置編譯環境
# yum install gcc-c++
編譯
# make
服務器維護小知識如果報錯:jemalloc/jemalloc.h:沒有那個文件或目錄
使用:
make MALLOC=libc
# make install
cd src && make install
make[1]: 進入目錄“/usr/local/redis/redis-4.0.2/src”
CC Makefile.dep
make[1]: 離開目錄“/usr/local/redis/redis-4.0.2/src”
make[1]: 進入目錄“/usr/local/redis/redis-4.0.2/src”
Hint: It's a good idea to run 'make test' ;)
INSTALL install
INSTALL install
INSTALL install
INSTALL install
INSTALL install
make[1]: 離開目錄“/usr/local/redis/redis-4.0.2/src”
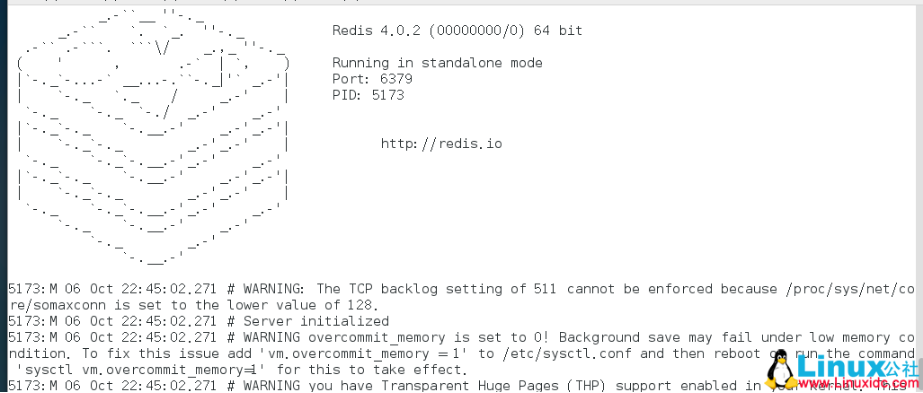
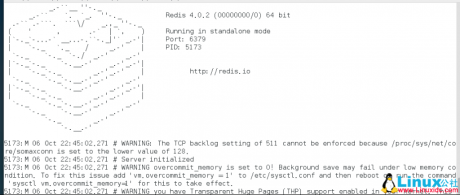
啟動Redis-server
# redis-server
查看Redis
$ ps -ef | grep redis
root 5188 3749 0 22:46 pts/0 00:00:00 redis-server *:6379
xcx 5235 5200 0 22:46 pts/1 00:00:00 grep --color=auto redis
啟動Redis-client
$ redis-cli
127.0.0.1:6379> ping
PONG
127.0.0.1:6379>
基本安裝完成
此時重啟系統,發現redis并沒有啟動,所以需要設置redis自啟,
這里我們進入utils文件夾
# cd /usr/local/redis/redis-4.0.2/utils
切換root用戶,執行里面的install_server.sh該文件會幫助我們將redis服務添加到系統自啟服務中
# ./install_server.sh
Welcome to the redis service installer
This script will help you easily set up a running redis server
Please select the redis port for this instance: [6379]
Selecting default: 6379
Please select the redis config file name [/etc/redis/6379.conf]
Selected default - /etc/redis/6379.conf
Please select the redis log file name [/var/log/redis_6379.log]
Selected default - /var/log/redis_6379.log
Please select the data directory for this instance [/var/lib/redis/6379]
Selected default - /var/lib/redis/6379
Please select the redis executable path [/usr/local/bin/redis-server]
Selected config:
Port : 6379
Config file : /etc/redis/6379.conf
Log file : /var/log/redis_6379.log
Data dir : /var/lib/redis/6379
Executable : /usr/local/bin/redis-server
Cli Executable : /usr/local/bin/redis-cli
Is this ok? Then press ENTER to go on or Ctrl-C to abort.
Copied /tmp/6379.conf => /etc/init.d/redis_6379
Installing service...
Successfully added to chkconfig!
Successfully added to runlevels 345!
Starting Redis server...
Installation successful!
這是再重啟系統,就會發現redis跟隨系統自動啟動了
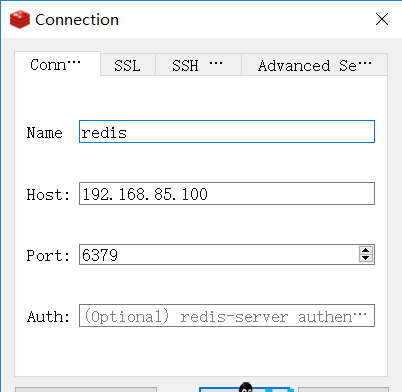
如果需要外部訪問,需要修改配置文件:
# vim /etc/redis/6379.conf
#bind 127.0.0.1
bind 0.0.0.0
#daemonize no
daemonize yes
防火墻開放6379端口
# firewall-cmd --permanent --zone=public --add-port=6379/tcp
# firewall-cmd --reload
重啟redis服務后就可以外部訪問了
IT運維 我們選擇北京艾銻無限
以上文章由北京艾銻無限科技發展有限公司整理
相關文章


 關閉
關閉